The Complete Guide to Nipple Piercings: From Decision to Aftercare
Nipple piercings have moved from underground to mainstream, embraced as a form of self-expression, body empowerment, and simply for their aesthetic appeal. However, this is not an impulse decision. A successful nipple piercing requires knowledge, preparation, and a serious commitment to aftercare. This definitive guide covers every detail you need to ensure your piercing is safe, heals properly, and looks fantastic for years to come.
1. Pre-Piercing Considerations: Are You Ready?
Before you book your appointment, take time to honestly assess your motivation and readiness.
-
Why Get One? Common reasons include aesthetic preference, reclaiming body autonomy after surgery like mastectomy, enhancing sensitivity, or personal symbolism. There's no wrong reason if it's yours.
-
The Commitment: This is a long-haul commitment. Full healing takes 6-12 months, sometimes longer. You must be prepared for a strict daily cleaning routine and lifestyle adjustments during this time.
-
Pain Expectation: Let's be honest: it will hurt. Nipples are erogenous zones packed with nerve endings. Most describe it as a very intense, sharp pinch or burning sensation that is brief (over in 1-2 seconds). The adrenaline rush can help mitigate the pain. On a scale of 1-10, most rate it a 6-8, but pain is highly subjective.
-
Choosing Your Studio and Piercer: This is the most critical step for your safety and results.
-
Research: Look for Professional Body Piercers (Certified members are a great benchmark) with portfolios you like. Read Google and Yelp reviews meticulously.
-
Hygiene: The studio should be impeccably clean. All tools should be sterilized in an autoclave, and the piercer should use single-use, pre-sterilized needles.
-
Consultation: A good piercer will offer a consultation to discuss placement, jewelry, aftercare, and any concerns you have. They should make you feel comfortable and respected.
-
2. The Piercing Procedure: A Step-by-Step Walkthrough
Knowing what to expect can ease anxiety.
-
Paperwork & Consultation: You'll fill out a consent form and have a final chat with your piercer.
-
Preparation: You'll be taken to a private, clinical-style room. The piercer will clean the area with a surgical disinfectant.
-
Marking: While you are standing, the piercer will mark the entry and exit points with a surgical pen. This ensures the piercing is straight and placed perfectly at the base of the nipple, in the crease where the nipple meets the areola. This is your chance to check the placement in a mirror and approve it.
-
The Clamp and Pierce: A sterile, disposable clamp may be used to stabilize the nipple. The piercer will then swiftly guide a hollow, single-use needle through the marked points. The jewelry is immediately inserted behind the needle.
-
Aftercare Briefing: The piercer will give you detailed, printed aftercare instructions and explain them to you. Listen carefully and ask questions!
3. Jewelry 101: Starting Right is Everything
Your initial jewelry is designed for healing, not just for show.
-
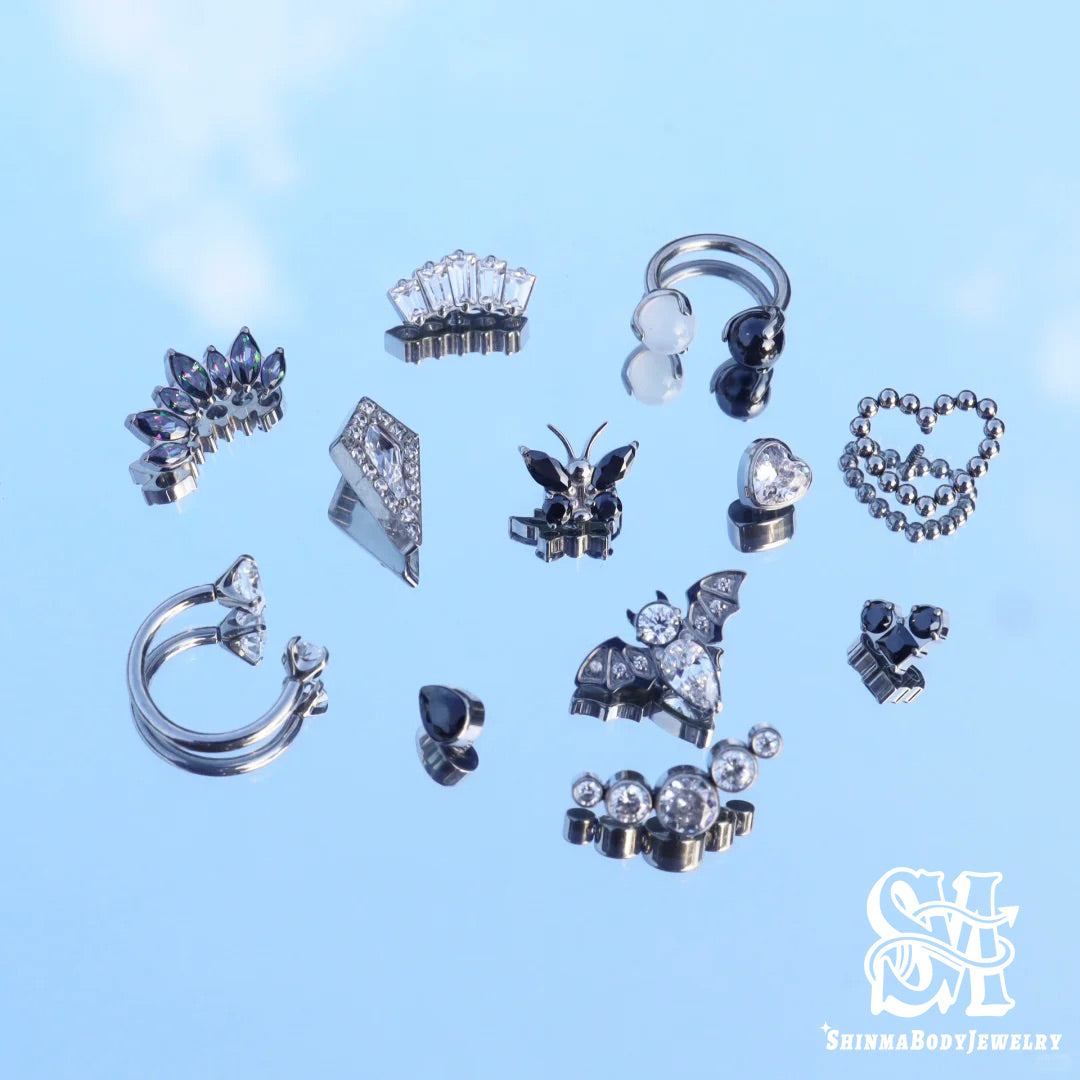
Type: A straight barbell is the undisputed best choice for initial jewelry. It lies flat, moves minimally, and allows for swelling. Rings (Captive Bead Rings, segment rings) are not ideal starters as they move more, causing irritation and delaying healing.
-
Material: This is non-negotiable. You must use implant-grade materials.
-
Implant-Grade Titanium (F136): The best choice. Hypoallergenic, lightweight, and extremely biocompatible. Ideal for those with sensitive skin or unknown metal allergies.
-
14K or 18K Implant-Grade Gold: A great, high-quality option. Must be solid gold, not plated, as plating can wear off and expose you to nickel or other irritants.
-
-
Gauge (Thickness): The standard is 14g (1.6mm) or 12g (2mm). A thicker gauge is more stable and reduces the risk of migration and rejection.
-
Bar Length: The piercer will choose a longer bar to accommodate significant initial swelling. After 4-8 weeks, you must return to your piercer to downsize to a shorter, fitted bar. A bar that is too long after swelling subsides will snag on everything and cause irritation.
4. The Healing Journey: Timeline and Detailed Aftercare
Healing is a two-part process: initial surface healing and long-term internal healing.
-
Cleaning Routine (Twice Daily):
-
Wash Hands: Always start with thoroughly washed hands.
-
Saline Soak: Soak for 5-10 minutes using a sterile saline spray (0.9% sodium chloride, no additives) or a saline-soaked sterile gauze pad. This softens and dissolves the natural "crusties" (lymph fluid, not pus).
-
Rinse: In the shower, let warm water run over the piercings to rinse away loosened debris.
-
Pat Dry: Gently dry with a clean, disposable paper towel. Avoid cloth towels due to bacteria and snagging risks.
-
-
Absolute "Do Not" List:
-
No Playing: Don't twist, turn, or play with the jewelry.
-
No Harsh Chemicals: Never use alcohol, hydrogen peroxide, or ointments (like Neosporin). They are too abrasive and prevent necessary air circulation.
-
No Submersion: Avoid pools, hot tubs, lakes, and oceans for the entire healing period.
-
No Oral Contact or Saliva: Keep mouths (yours and partners') away until fully healed.
-
No Friction: Wear soft, breathable cotton bras or shirts. Some find a snug sports bra provides comfortable support; others prefer going braless. See what works for you.
-
-
Healing Timeline:
-
Weeks 1-4: Tenderness, swelling, redness, and minor bleeding or bruising are normal. You may secrete lymph fluid that dries into whitish-yellow crusties.
-
Months 1-6: The piercing will look and feel much better on the outside, but the internal fistula (skin tube) is still forming. It is fragile. Continue strict cleaning.
-
Months 6-12+: The piercing is considered fully healed when it is no longer tender, produces no crusties, and the jewelry moves easily. You can slowly reintroduce activities but remain cautious.
-
| Stage | Duration | What to Expect | Care Focus |
|---|---|---|---|
| Initial Healing | 2-8 weeks | Tenderness, swelling, redness, lymph fluid "crusties". | Strict saline cleaning 2x daily. Avoid snagging, submerging, and contact. |
| Intermediate Healing | 2-6 months | Outer healing appears complete. No pain unless bumped. | Continue saline cleaning 1-2x daily. Stay vigilant against snags. Downsize jewelry. |
| Full Maturation | 6-12 months+ | Piercing is settled, comfortable, and looks established. | You may change jewelry. Maintain general hygiene. |
5. Changing Jewelry and Long-Term Maintenance
-
First Change: Have your piercer do the first jewelry change. They can ensure it's sterile, the right size, and done without trauma.
-
Do It Yourself (Later On): When fully healed, you can change it yourself.
-
Wash hands.
-
Use a water-based lubricant.
-
Consider a insertion taper to guide the new jewelry through smoothly.
-
Warning: Nipple piercings can shrink alarmingly fast. Never leave jewelry out for long.
-
-
Long-Term Care: Clean your jewelry regularly with mild soap and water. Check the tightness of the balls on barbells every few weeks.
6. Risks and How to Mitigate Them
Being aware of risks helps you prevent and identify them.
-
Infection vs. Irritation: Learn the difference.
-
Irritation: Redness, minor swelling, clear/whitish discharge. Caused by snagging, pressure, or improper cleaning. Fix the cause and continue saline cleaning.
-
Infection: Increasing, throbbing pain, extreme redness, heat radiating from the area, and thick yellow/green pus with a bad smell. This requires a doctor's attention. Do not remove the jewelry, as it can trap the infection.
-
-
Rejection & Migration: The body pushes the jewelry toward the surface. Signs include the jewelry sitting more shallowly, the skin between holes looking thin or red, and the jewelry moving significantly from its original place. If you suspect this, see your piercer; you may need to remove it to minimize scarring.
-
Allergic Reaction: Caused by low-quality jewelry. Intense itching, rash, and redness around the holes. Solution: immediately switch to implant-grade titanium.
7. FAQs Addressed
-
Sensitivity: It's a gamble. Many report increased sensitivity due to constant stimulation. For some, sensitivity decreases. It's impossible to predict.
-
Breastfeeding: Yes, it is possible. The piercing does not block milk ducts. However, you must remove the jewelry before each feeding to prevent a choking hazard and damage to the baby's mouth. Milk may leak from the holes. Plan to remove jewelry for the duration of nursing.
-
MRI/X-Rays: Always inform the technologist. You will likely need to remove all metal jewelry. See your piercer for a non-metallic retainer (e.g., bioplast) if needed.
-
Men vs. Women: The process is identical. Healing may be slightly faster for men (closer to 6 months) due to typically smaller nipple anatomy.
8. Conclusion
A nipple piercing is a beautiful commitment to yourself. Its success hinges on three pillars: an expert piercer, high-quality jewelry, and your dedicated aftercare. By investing in all three, you transform a moment of bravery into a long-lasting form of self-expression you can confidently enjoy.


